
Color Bass is all about taking heavy sounds and shaping them into something melodic, expressive, and full of movement.
For our latest walkthrough, we teamed up with BassTi to build a track from the intro to our first drop using Poly Flanger to colorize our sounds. We'll break down each step of the process, from the initial idea to the final arrangement. You’ll see how each section comes together and how the sounds evolve along the way.
Checkout the videos below to get a feel for the processing and arrangement of a color bass track, and then bring what you've learned into your own process.
Now let's get started.
Creating Your Foundation
We'll start by taking percussive elements designed in Current. We'll use this as the foundation for our drop. Once a strong pattern is in place, resample the result and move into audio for arrangement. This allows for more direct control over the timing of the sound.
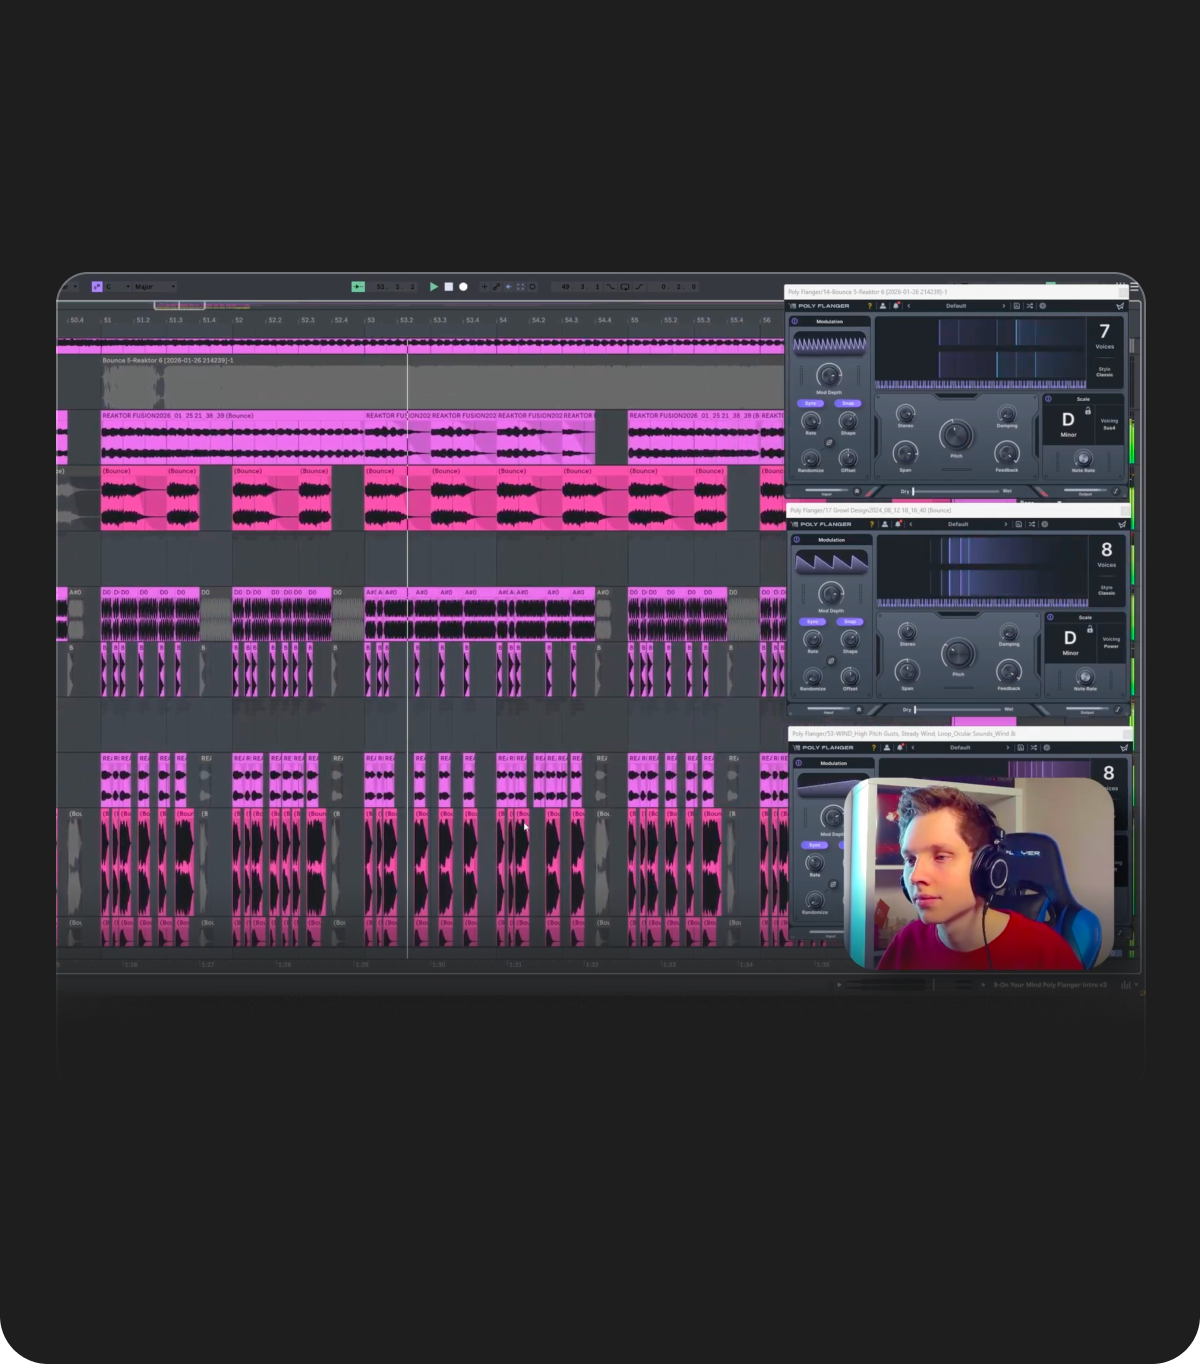
Use Poly Flanger to bring the percussion into key (D minor in this case). Then create multiple variations of the same source by applying different post-processing chains after Poly Flanger.
Inside Poly Flanger, keep the note rate very short. This is essential for tight, controlled colorization. For additional depth, push one layer with higher feedback to generate a sustained tonal texture. Resample this and use it later as a supporting layer.
All Layers Together
Next, we'll arrange the layers so they form a cohesive and dense bass group. Reinforce the rhythm with an additional quarter-note layer, also processed through Poly Flanger.
Introduce a lead using Current to highlight key notes and establish a melodic pattern that listeners can latch onto.
Now, we'll bring the entire section together with a sub layer. Layer it with a distorted percussive transient to emphasize the attack and give each hit more impact.
Designing Fills
For this step, we'll use Poly Flanger on our fill sounds to introduce harmonic structure into more futuristic/synthetic bass tones. Blend the effect in by automating the dry/wet around 25%, allowing the original sound to remain present.
Apply additional distortion, compression, and filtering to shape these layers and create contrast with the main bass group.
For more complex harmonic content, stack multiple instances of Poly Flanger tuned to different pitches within the same scale. This can be used to form chords. Experiment with different modes, such as Vapor and Classic, to vary the texture.
Carry these sounds into the buildup, using reverb and delay to position them as a preview of the drop.
Additional Layers
Next, let's fill out the arrangement with supporting elements like brass stabs, tight and punchy drums, cymbals, percussion, and vocal chops.
We used Evoke on our vocal layers to add movement and presence, especially in the intro. This helps bring more life into the track early on.
Intro Sounds, and Background Textures
Now, we'll build background textures using Poly Flanger to keep everything harmonically aligned. Applying multiple instances at different pitch settings can also help to create richer tonal layers.
Within Current, use Poly Flanger to create harmonic movement, such as an arpeggio, onto basic waveforms. Resample the result and process it further to sit in the background. For added depth, introduce additional effects like Cluster Delay to create space and motion.
For our transitions and intro elements, we'll colorize reversed sounds, chord plucks, and background layers so they all sit within the same harmonic context. Make sure to apply the same approach to drums and transitional elements to maintain cohesion throughout.
Final Result
Finally, we'll play through the final arrangement to hear how each layer connects and supports the full track.
And there you have it. Each step is vital in its own respect, but it’s how everything connects that really makes the track work. Songs are more than the sum of their parts. The sound design, the layering, and the arrangement all build with each other to create something spectacular.
Huge thanks to BassTi for sharing his process and putting this together.
Now it's time to take what you’ve learned here and try it in your own projects.
Start your 7-day Free Trial. to audition Poly Flanger in your own setup.
You can also demo the plugin along with the rest of our library with All Access. Click here to start your free trial.
Ready to try Poly Flanger for yourself?