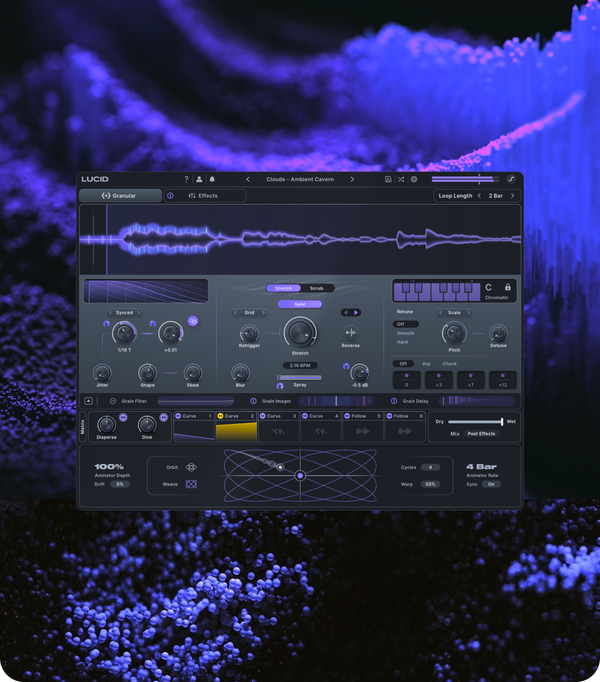

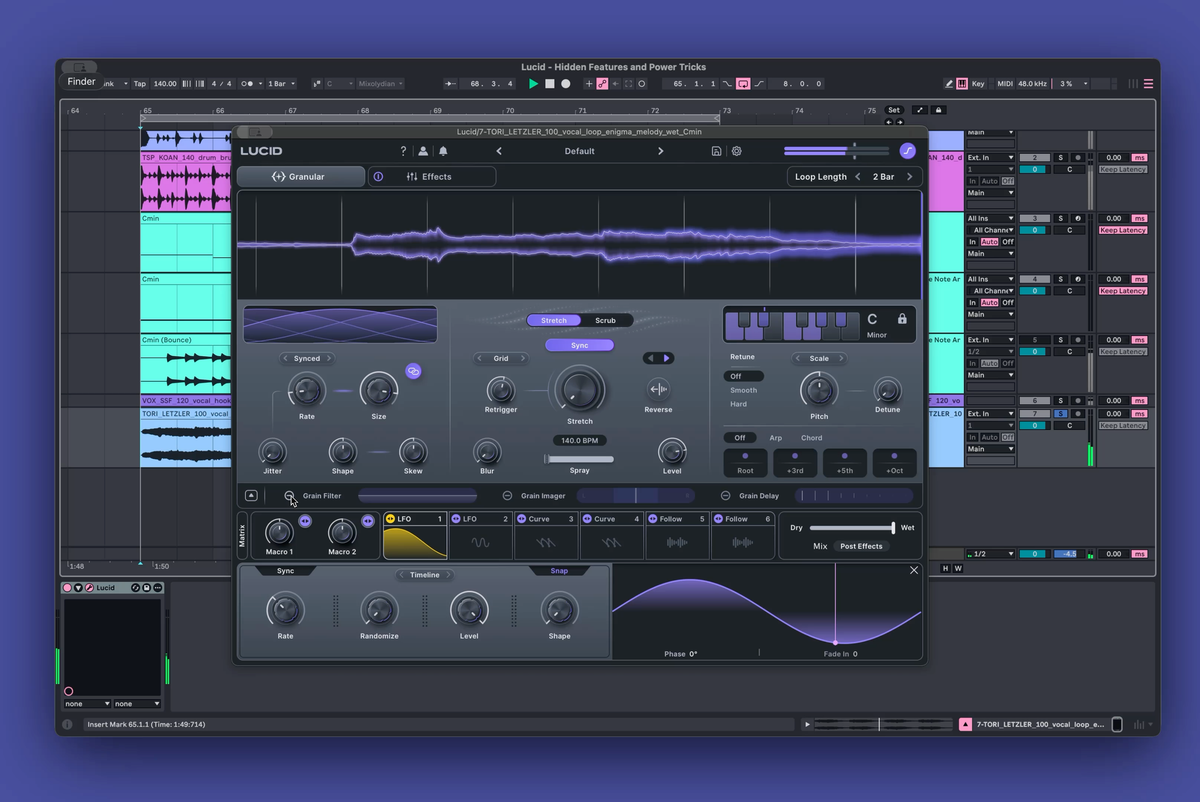
Lucid can go far beyond traditional granular textures. Once you start combining its grain controls, filters, modulators, and effects, it becomes a playground for everything from tuned resonances and vocal chops to jungle-style edits, harmonies, and custom risers.
Here are six creative techniques to try, including a closer look at the new grain filter modes in Lucid 1.1.
New in Lucid 1.1 – Grain Filter Modes
New Modal Resonator Mode
Lucid’s new Modal Filter makes it easy to turn simple source material into lush, resonant textures.
In this example, we’re processing a vocal and creating tuned, string-like resonances on every grain. Start with larger grain sizes and slower rates to get a more organic, evolving sound.
Once you’ve matched Lucid’s scale to your source, enable Filter Cutoff Scale to keep the filter tuned to your track. Then add Random modulation to the cutoff and increase the Mod Depth to gently move through your selected range.
Finish it off with some reverb or delay, and a simple vocal can quickly turn into a rich, atmospheric patch.
Formant Textures with New Vowel Filter
The new Vowel Filter is an easy way to add vocal-like movement and formant character to your sounds.
Here, we’re processing a bass through Lucid and modulating both Cutoff and Morph to continuously shift the filter’s vowel shape.
It works especially well on full-spectrum or harmonically rich sounds, where the filter has plenty of material to reshape. Try subtle modulation for movement, or push it harder for more exaggerated vocal textures.
More Creative Lucid Techniques
Performing Manual Stretch on Drums
Manual Stretch is a great way to create stutters, glitches, and chopped-up drum edits in real time.
In this example, we’re changing the grain rate between triggers to get an old-school jungle feel. A curve is also mapped to Stretch, giving each trigger a slightly different frozen or stretched section of the loop.
Experiment with different rates and curve shapes to move between subtle rhythmic variation and much more aggressive glitch effects.
Interval Layering with Grain Delay
Grain Delay can also be used as a quick way to layer harmonies over your source without using Lucid’s main tuning controls.
Start by enabling Grain Delay, then turn Time and Feedback all the way down. Set the taps to two and enable Ping Pong if you want a wider stereo effect.
With the delay time at zero, the taps act more like additional layers than echoes. From there, tune the interval to create harmonies, octave layers, or wider stacked sounds.
It’s especially useful when Lucid’s main pitch controls are already being used elsewhere in the patch.
Creating Risers with Lucid
You can turn almost any sound into a custom riser with Lucid.
Start by creating a ramp-up curve that matches the length of your transition. In this example, we’re using an eight-bar curve.
Turn Stretch all the way up to freeze the grains, then use a slower retrigger rate for a smoother, more gradual build. Set Pitch to Free and map the same ramp to pitch to create the classic rising effect.
From there, try sending that same curve to other parameters. Here, we’re also modulating a shifter effect to give the riser an extra swirling quality as it builds.
Vocal Chops with Scrub Mode
Scrub Mode turns Lucid’s buffer into a granular looper, making it perfect for hands-on vocal chops and stutter effects.
In this example, a Curve modulator is mapped to Position, jumping between different parts of the buffer to create a sequenced rhythmic pattern.
For a tighter, punchier stutter, set the grain shape to a ramp and keep the grain overlap low. Then experiment with the Rate to move between tight rhythmic repeats, scattered chops, and more chaotic glitch effects.
Try Lucid with a 7-day free trial